

DSC_0116

DSC_0100

DSC_0097

DSC_0093
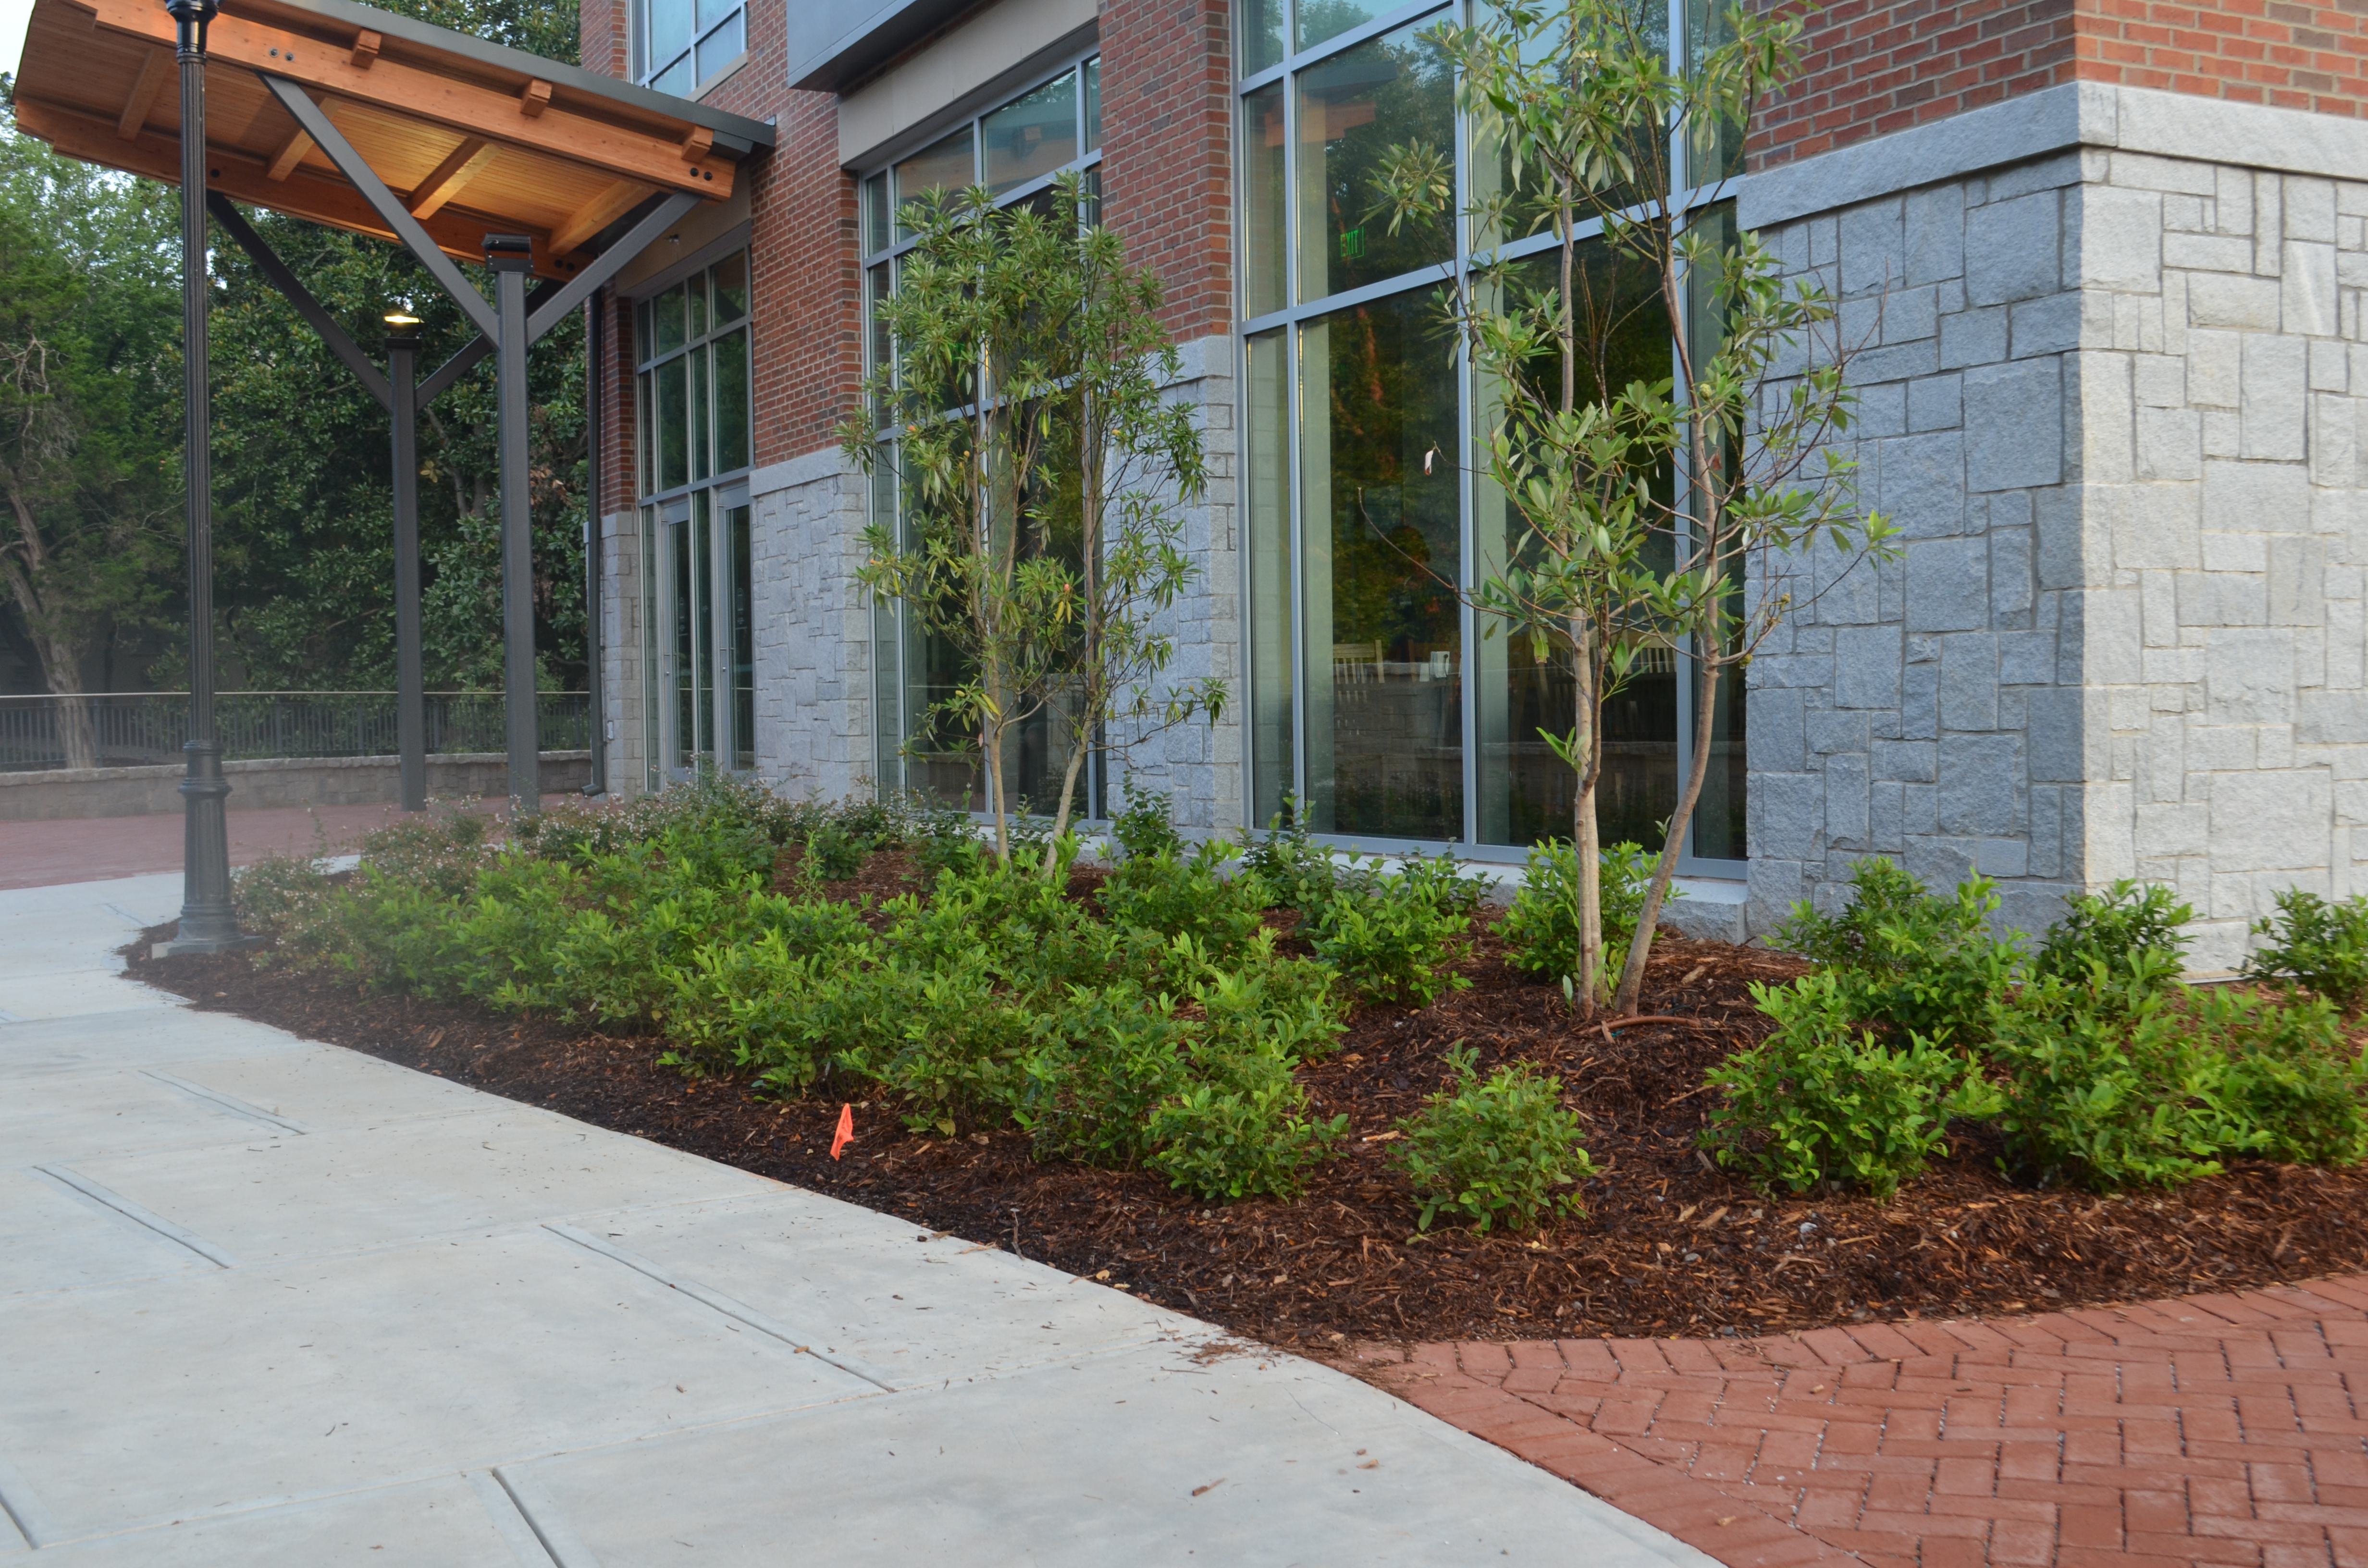

DSC_0092
DSC_0089
20160804_131735
20160804_131720
20160804_131711
20160804_131711


Best Landscaping Company 2014!
We are proud to announce that we have been voted Athens Best Landscaping company for the second year in a row! Thank you to all of our loyal customers and supporters. We are excited to continue our exceptional level of service in 2015.
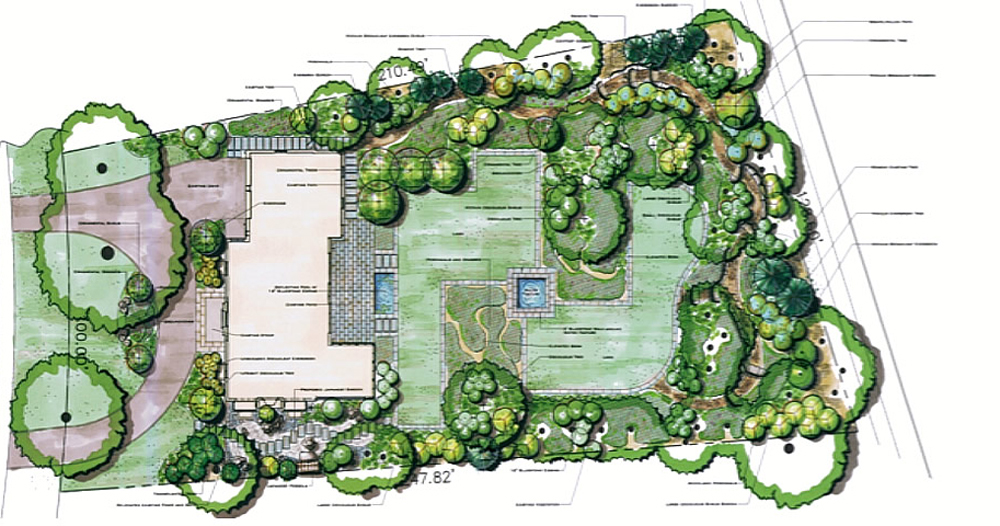

Spring is Coming!
Spring is right round the corner and that means it’s time to start planning your landscaping projects for the year. Our seasoned landscape design professionals would love the opportunity to help you plan and design a landscape that you can enjoy for years to come. We work hand in hand with all of our customers to insure that their landscape vision receives the appropriate professional advice and is turned into a final product they just can’t take their eyes off. Call us today for a free consultation 706-354-5807.
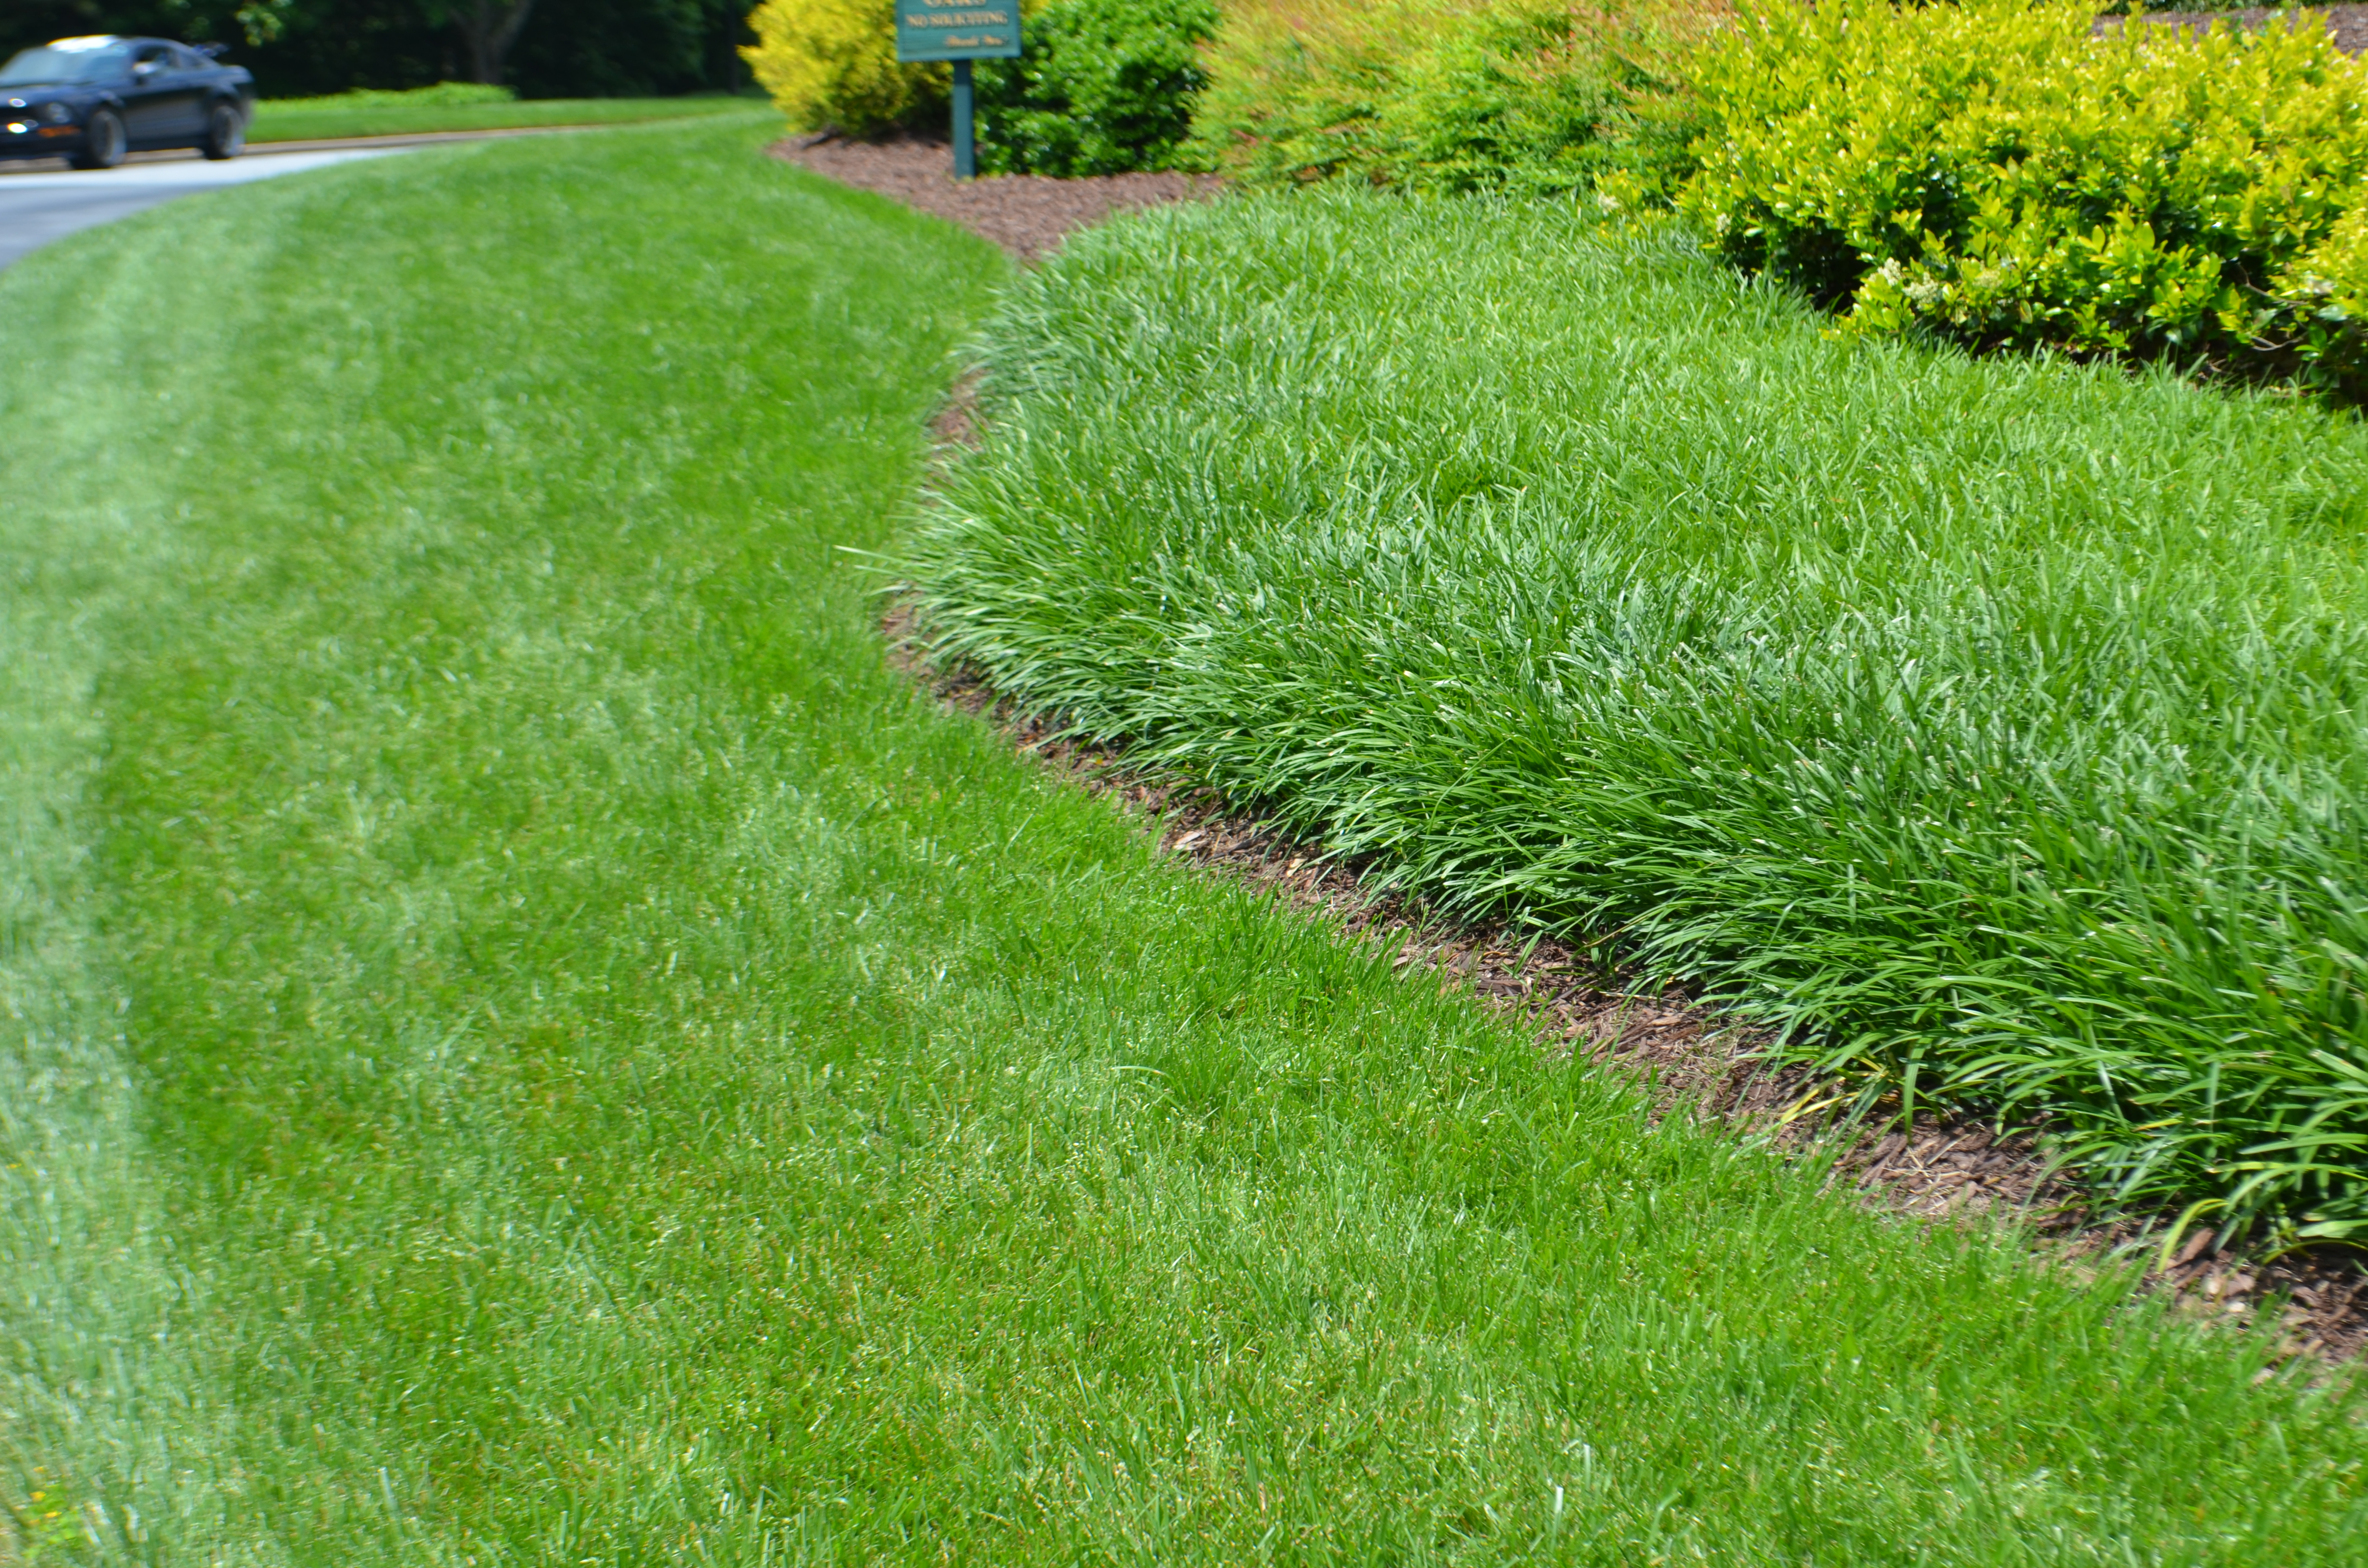

7 Steps for a Healthy Green Lawn
As January approaches here are some steps for keeping track of your landscaping inventory to ensure a healthy green lawn for the Spring and through the Summer:
Round 1 January-February
Our first application of the season includes both pre-emergent weed controls and post-emergent weed controls to aid in the prevention of broadleaf weeds and annual crabgrass. We also apply high potassium fertilizer for root development. Grassy weed controls are applied as needed.
Round 2 February-March
Our application of high nitrogen fertilizer will help ensure a quicker green up. A second treatment of pre-emergent and post-emergent weed controls will be applied on this application.
Round 3 April-May
With the onset of warmer temperatures, we will apply a granular slow-release fertilizer to enhance the color of your lawn. Grassy and broadleaf weed controls are applied as needed. This is a good time to core-aerate your lawn, landscape design services are a must if you want a nice landscape.
Round 4 May-June
To help all warm-season lawns maintain color and growth, we apply another granular slow-release fertilizer. Grassy and broadleaf weed controls are applied as needed. Proper mowing and watering are the keys to good landscape maintenance and a green, healthy lawn during this time of the season. This is why we always recommend keeping an eye on any sprinkler system repair needs you may have, you need to make sure your water sprinkler is properly working so that there is always a uniform distribution of water in your lawn. You can also get a lawn aerator rental for your mowing work and begin the process of improving your lawn.
Round 5 July-August
Heading into the end of summer, we apply another granular slow-release fertilizer mixed to maintain the color and feed the roots of your turf. Grassy and broadleaf weed controls are applied as needed.
Round 6 September-October
This application consists of both pre-emergent and post-emergent weed controls to aid in the prevention of annual winter weeds. We also apply high potassium fertilizer designed to strengthen root systems. This treatment is also designed to help minimize the possibility of winter damage.
Round 7 November-December
Our last application of the year is palletized limestone. This treatment will condition the soil and help balance the pH level so that your turf can use our fertilizers more efficiently. Grassy and broadleaf weed controls are applied as needed, and that is why it’s advisable to hire a good lawn mower professional.
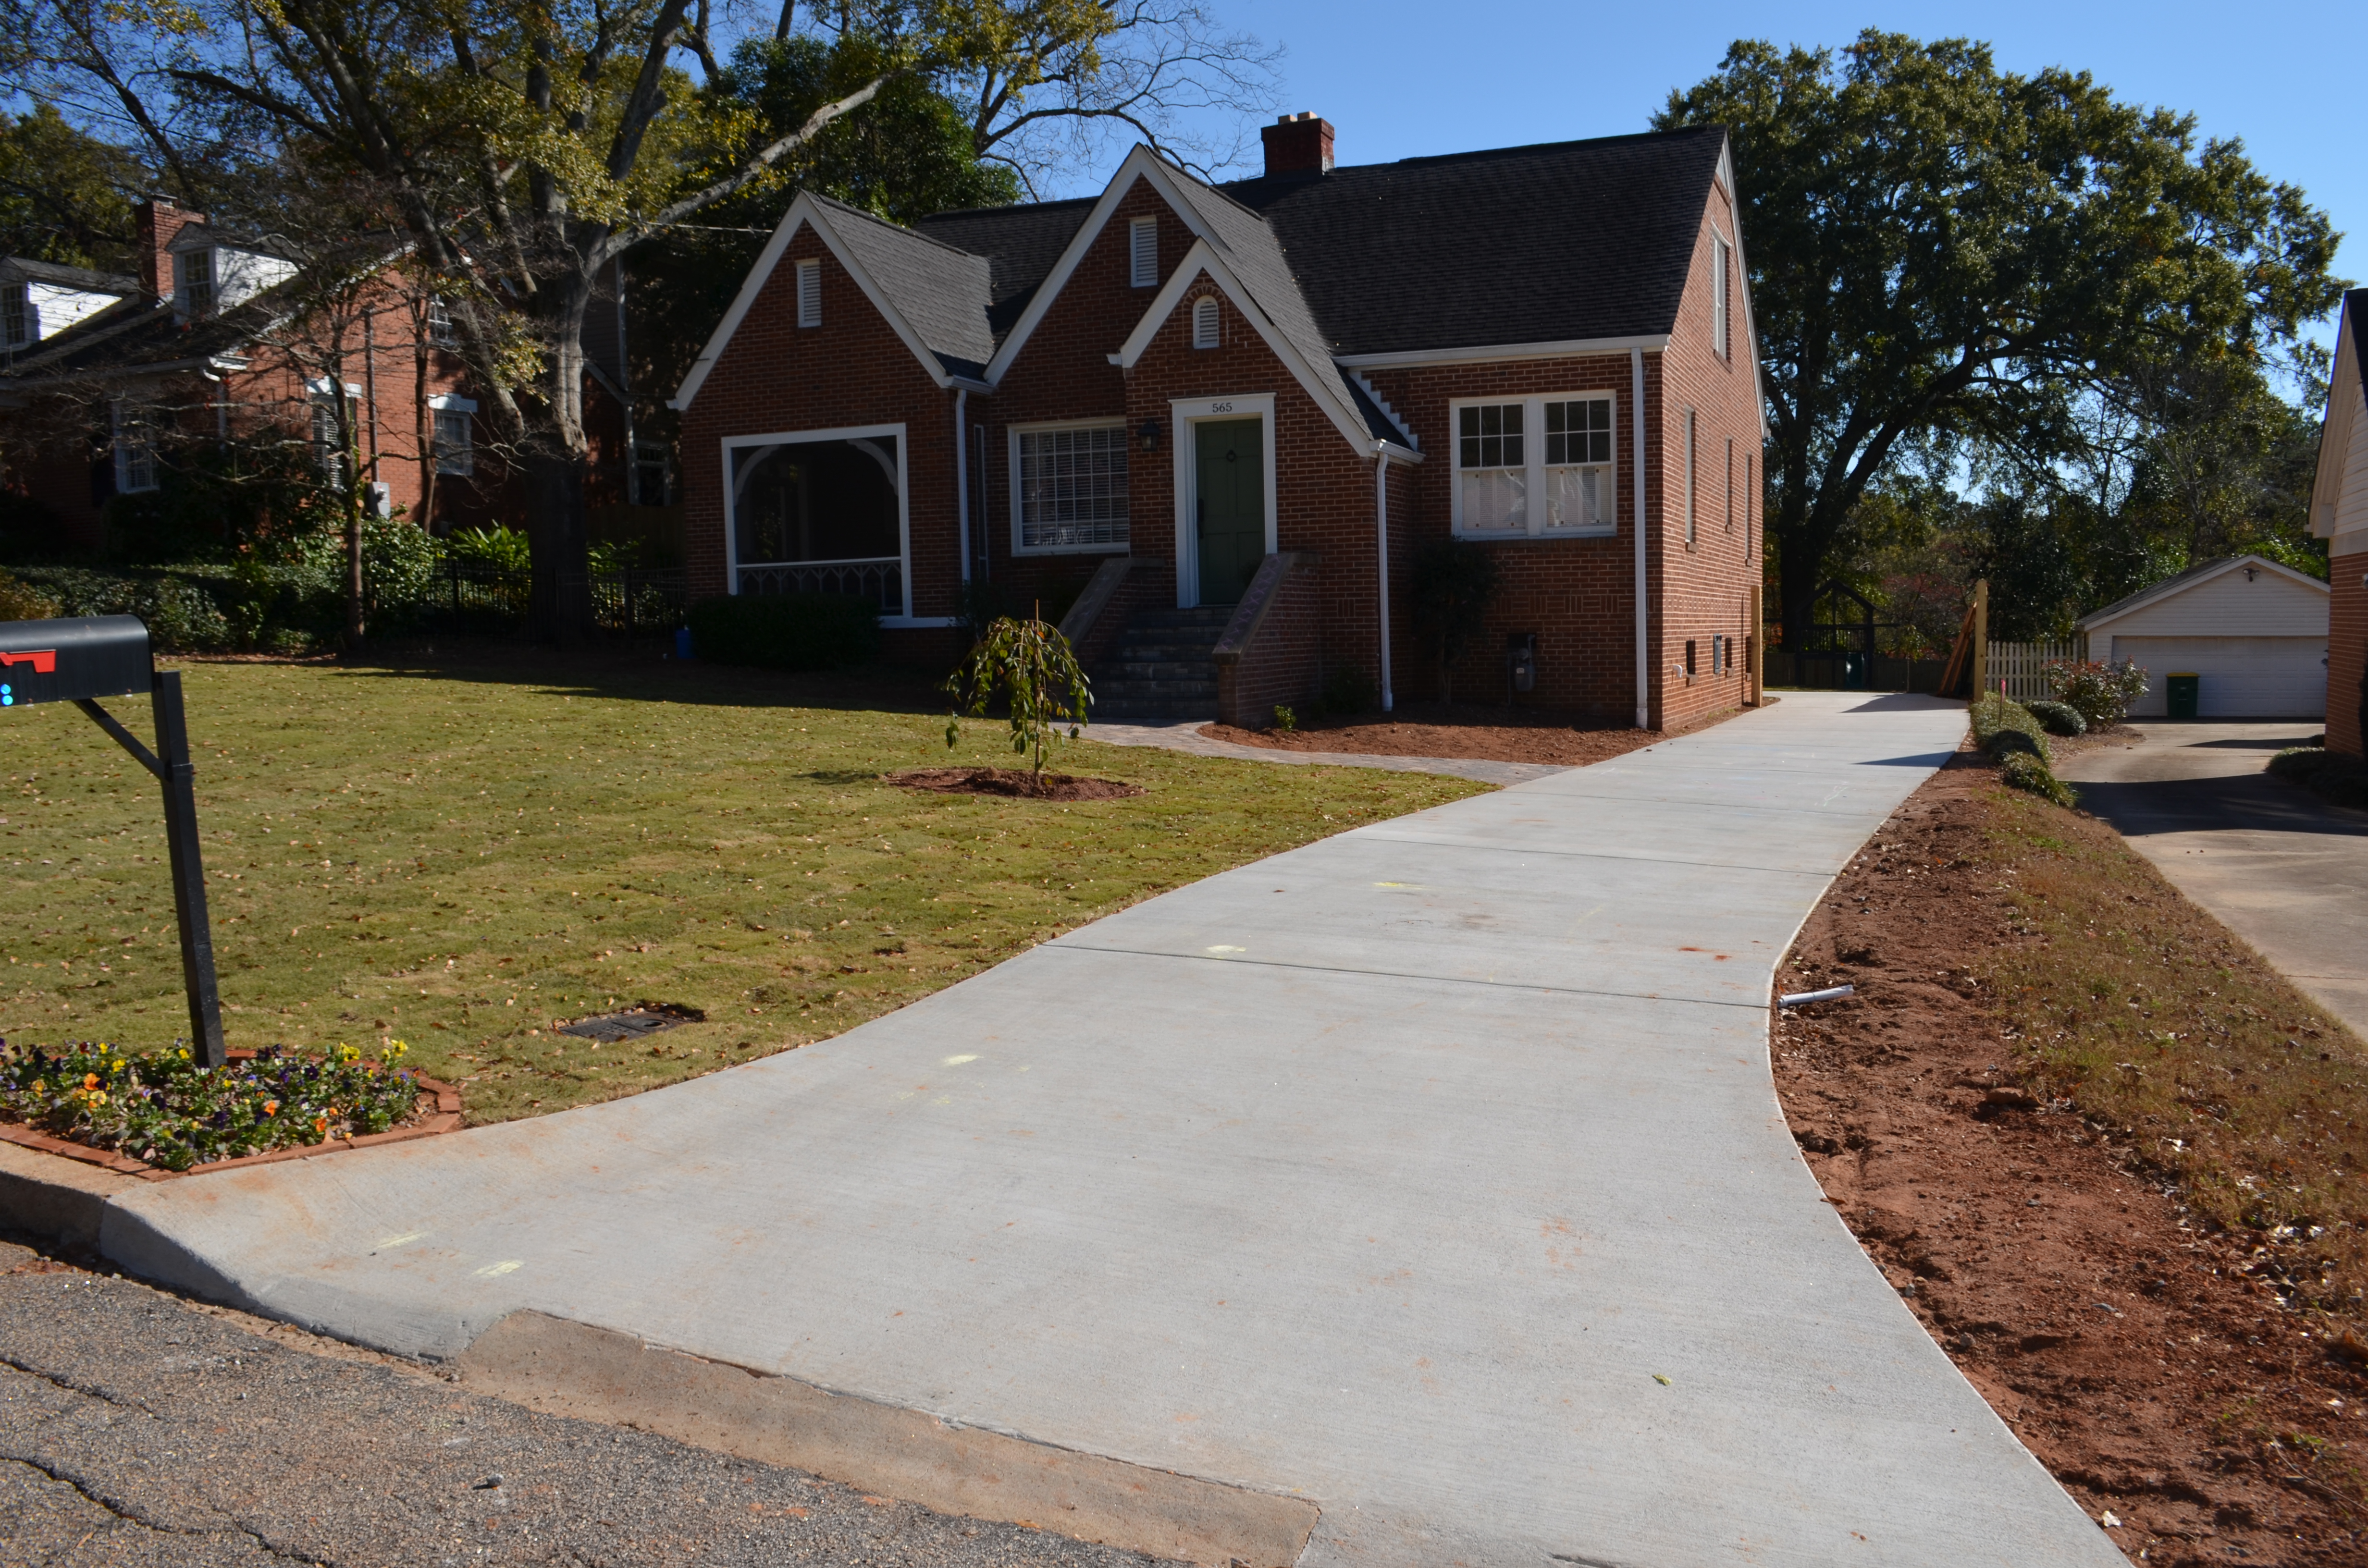

A Job Well Done
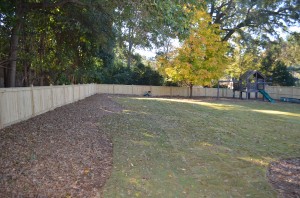
This design build for the Ryan’s in 5 points included:
– Grading front and back of property.
– Pouring a new driveway and parking pad.
– Font and back yard irrigation systems
– Sod installation
– Fencing
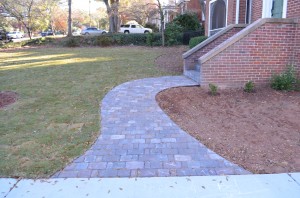
“Top notch quality at a reasonable price! Chad, Zack and their crew completed everything efficiently, professionally and with the attention to detail that every homeowner in need of landscaping would want. There is no question that the value they added to our home was well worth it. We were very pleased and would recommend them to anyone.”
– David and Katie Ryan

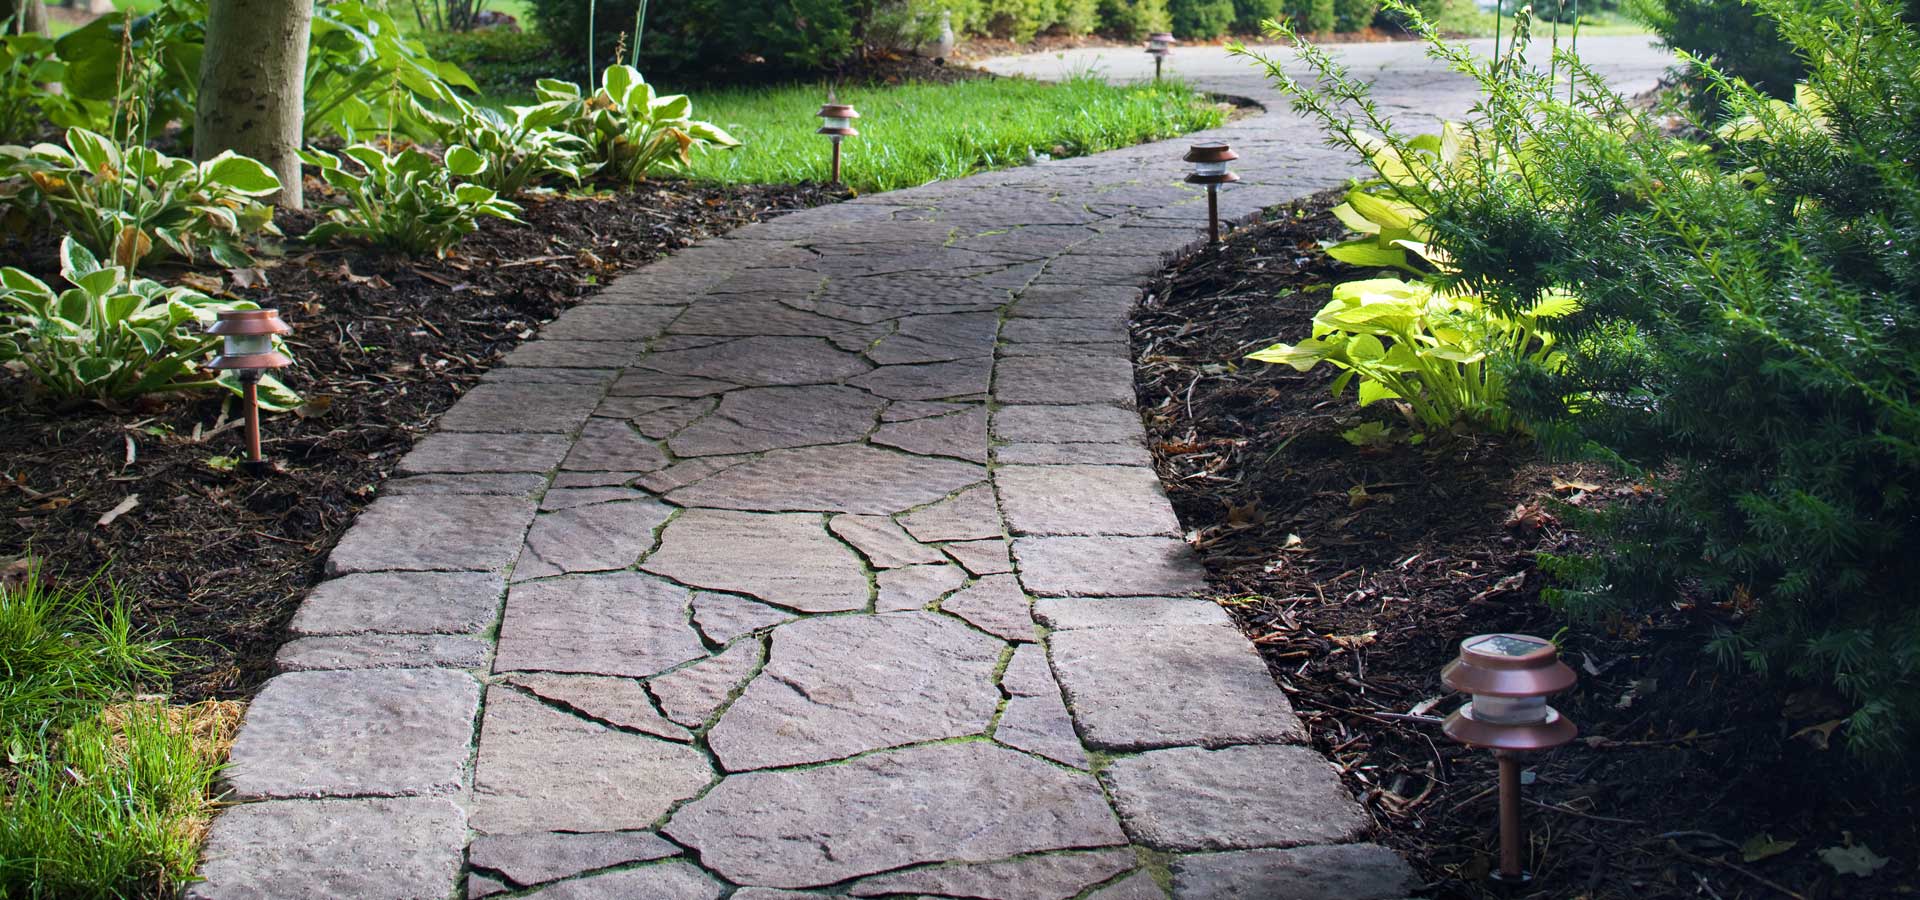

Beautifying Your Landscape With Stone Paver Walkways
Stone paver walkways are the most common because they are a great way to beautify your landscape. They are perfect for accentuating entrances and other priority areas. Paver walkways work great in gardens or other backyard planting areas. Here are the steps we take to install top of the line paver walkways that last:
1. First, we work with you to lay out the walkway and determine the dimensions.
2. Next, we prep the site for installation.
3. The third step is to install the base layer which usually consists of gravel and sand which you can purchase from a gravel supplier.
4. After that we install the stone. Make sure to mark the steps. We don’t want anyone to fall on an unmarked step.
5. The second to last step is securing or binding the stones in place.
6. Finally we clean the work area so you can begin enjoying your new walkway.
Call us TODAY for a free quote on stone paver walkways or any of your other landscaping needs!

To “leave” or not to “leave”
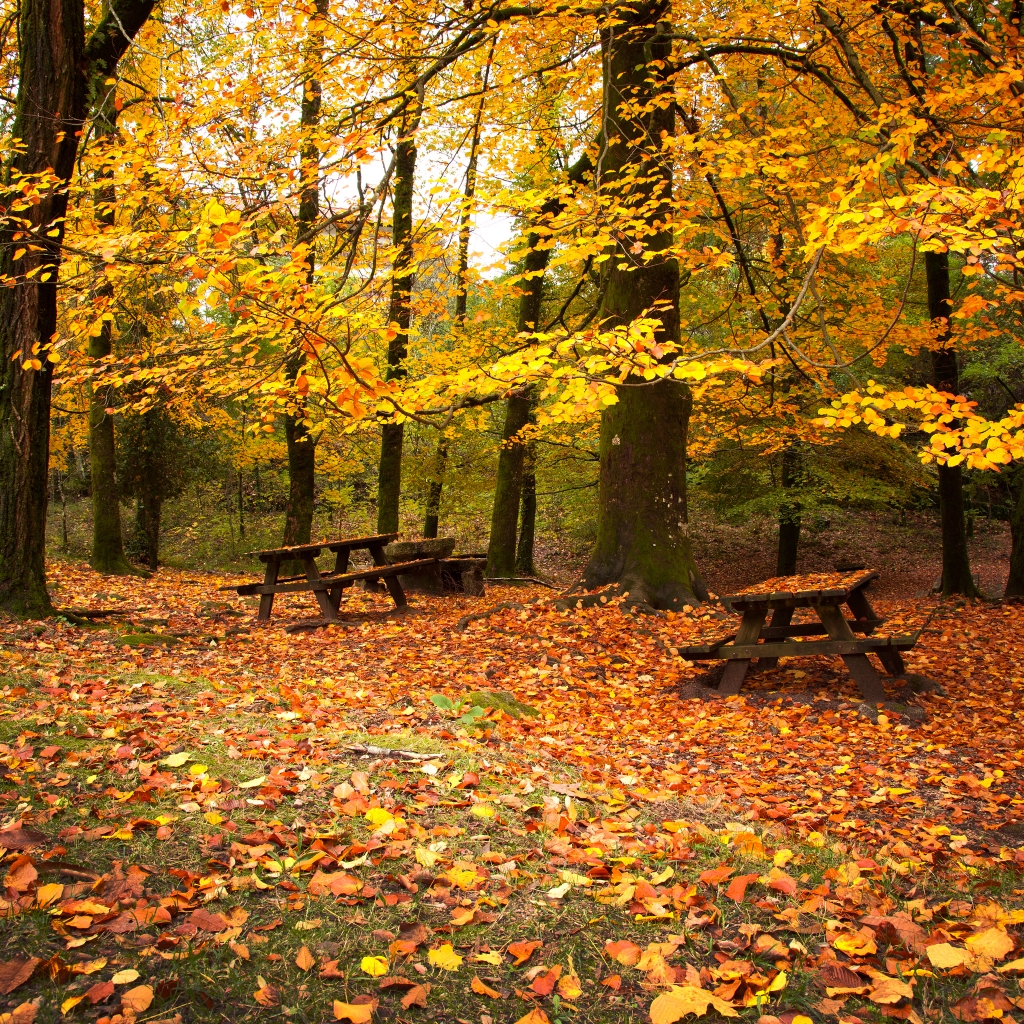
Fall is here and the leaves are beginning to drop. Here are some reasons why fallen leaves should be removed from your landscape
– Removing fallen leaves will give your landscape a neat uncluttered appearance.
– Accumulation of dead leaves can suffocate/damage your turf.
– Dry leaves can be a fire hazard.
– Leaves of certain trees can increase acidity in the soil and be damaging to plants.
– Fallen leaves can be ground up with mowers and used as healthy organic matter for your turf and plants.
PLM includes leaf removal in all our yearly maintenance contracts. Call us for a free estimate 706-354-5807!
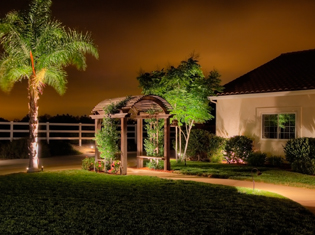

Benefits of Landscape Lighting
EXPANDING NIGHTTIME LIVING SPACE
When it comes to lighting outdoor spaces, most tend to think of simply illuminating the exterior of a structure or property. One of the most underestimated aspects of landscape lighting is that it can actually extend living space physically as well as visually. However, before one takes up the decision of lighting up their house, it’s advisable to carry out a technical survey.
When light is brought to a dark back or front yard, it visually pushes the boundaries of a house. The more elements that are lit, the more people will push the edges of where a person will tend to gravitate to beyond the interior of a house.
Pushing this boundary creates a visually striking look for the outside of the house, especially when the interior lights are turned off. You can also add Spiral Piers and put lighting on it for your outdoors to look even better.
BOUNDARY LIGHTING
Another practice for expanding nighttime living space is boundary lighting. Many people have a fence or shrub line that represents the end of their property line. This section can be illuminated with wall wash fixtures and lighting that can be overlapped to create a continuous wall of light that will subtly show the edges of a yard. You can use bollard lights for they are one of the most attractive lighting options available to homes for landscape lighting.
PLAN FOR THE OUTSIDE AS WELL AS THE INSIDE
In the process of designing a new residential or commercial lighting plan, remember to include what will happen on the inside of the house or building, especially in the main areas that look outward.
If the living or dining room is in the back of the house, shifting the balance of the entire lighting plan to better represent the most trafficked area may be a desire of the homeowner.
Opposite to this, if the bedroom is in a particular area that has a lot of windows, the design may require extra care not to put too much light into that area.
Discussing the specific needs and desires during the planning phase with the client will give great direction to the specific topic of indoor viewing. Ask about safety, utility, and what areas, plants or even stones are the favorite of the client. You can also add a retaining wall to make landscape lighting more attractive.
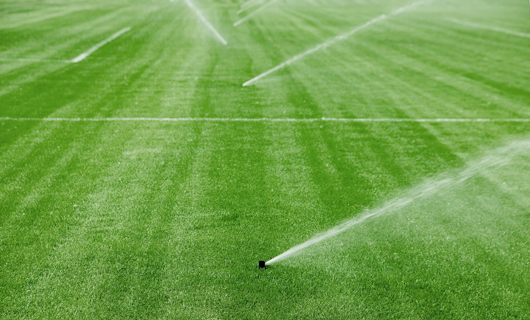

Winterizing Your Irrigation System
It is very important to properly winterize your irrigation system. Winterization is a relatively easy and quick process. Here are four simple steps in this process:
1. Turn off the water to the irrigation system at the main valve.
2. Set the automatic irrigation controller to the “rain” setting.
3. Turn on each of the valves to release pressure in the pipes.
4. Drain all of the water out of any irrigation components that might freeze.
If you have any questions about this process please feel free to call PLM, we are always happy to help!


